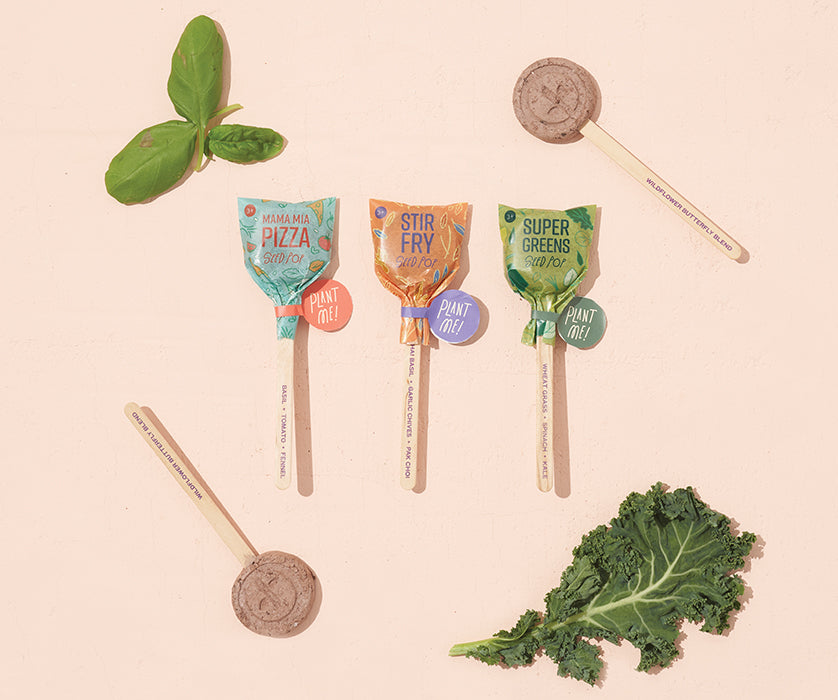
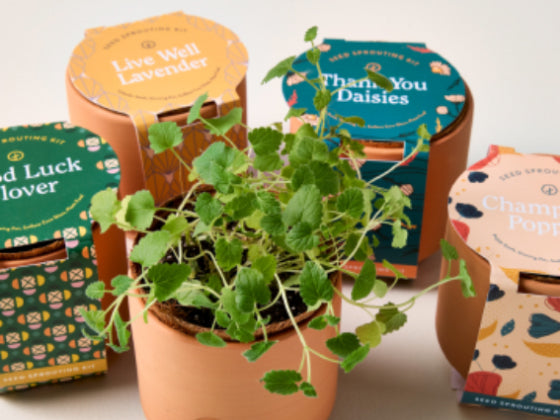


You’ve brought home your new planting kit. Maybe you have one of our many Garden Jars, a seed starter trio like this Mighty Mini, or even a Glow and Grow candle to planter. First of all, you have great taste. Secondly, I bet you’re anxious to see green shoots before long.
Home-grown germination requires a curious mind and the patience to experiment. Not every plant has the same needs, and not every corner in the home is plant-worthy. But have no fear! I have ventured into our lab and killed plenty of plants on your behalf and rendered many planters barren so that you don’t have to.
With a little bit of luck, and a dedication to the experimentation process, I’m sure we can bring your plant to the table in no time. We’re going to walk through the conditions needed for germination and my best tips for success from the very beginnings of your expertly-planted herbs and edibles.

Okay I planted my seeds. Now what?
Location, location, location. Plants are sensitive to light, heat, and moisture during the germination phase (this is the fancy phrase for seed infancy). To get from seedling o the thriving adult stage, we are going to need to put some thought into how to best set your plant up for a successful future.
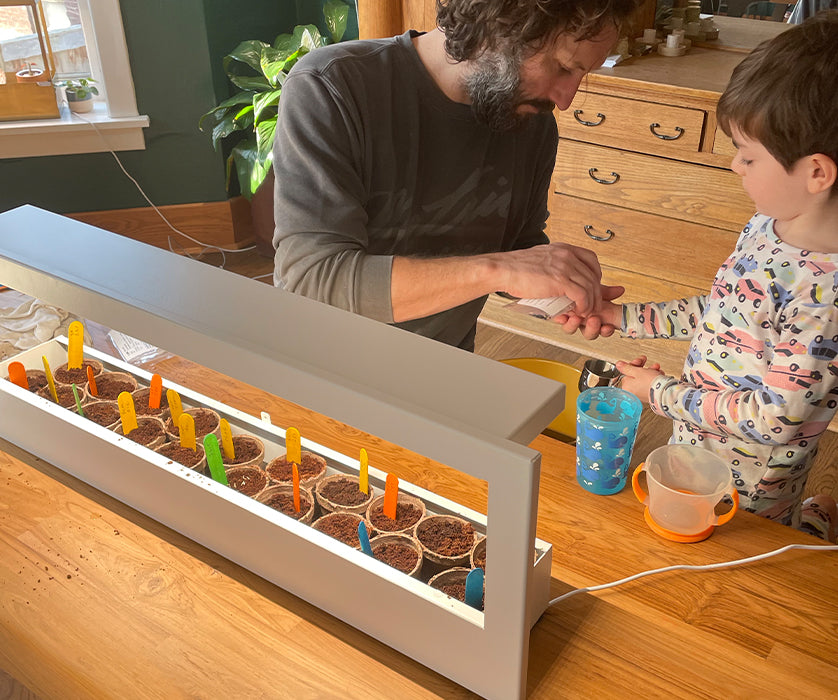
Herbs want all the sun you can afford (typically 6-8 hours a day). Odds are, if you’re starting in the winter, you’ll need to supplement the light with one of our Growlights especially if the outside world tends to be on the dreary side in your neighborhood. Winter days feature shorter, less intense, and therefore colder daylight conditions in North America, which can make your windowsill a tough perch during colder months.
Speaking of the window treatment, south facing or southwest facing light is considered the strongest, and most direct lighting, and north facing is generally the weakest option regarding direct, long-lasting sun. Direct sun is your friend when starting herbs from seed and taking a chance on germination.
The direction and strength of the sun’s rays play a significant role in your ability to wake up seeds and keeping ongoing plants happy. So, where the center of your family room may be warm and inviting, your plant may be getting the Oliver Twist treatment in your picture window asking “Please sir, may I have some more?”
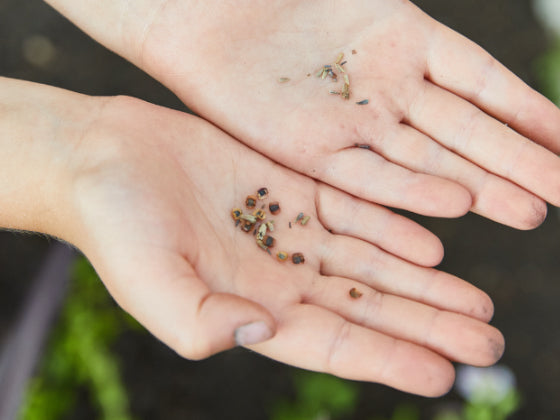
Seeds are quite shy in colder weather and may shift to dormancy if kept too cold. No matter how much sun or water they receive, seedings will not grow if their conditions mirror that of an ongoing frost or seem to indicate the final frost of the year has not passed. They’re just protesting themselves, and we can’t fault them for that. Even planting closer to your soil surface may help them start a bit warmer!

A quick guide to Modern Sprout seeds:
This is a list of plants that can tolerate cold to warmth.
72+ Costal Palm, Balmy
70-75 Lavender, Warmest and Moist
70-75 Mint, heat sensitive
70+ Bonsai, average temperatures, low water
70 Basil, a True Neutral
65-70 Rosemary, aromatic
70 Aloe Very dramatic, consistent location and a rare mist
60-70 Parsley Temperature Hearty, low maintenance
50-65 Cilantro Temperature Hearty, least Moist
Water and food. Aren’t they the same thing?
Can you live solely on potato chips? Yes! Will your body be happy with you? No! The same goes for your plants.
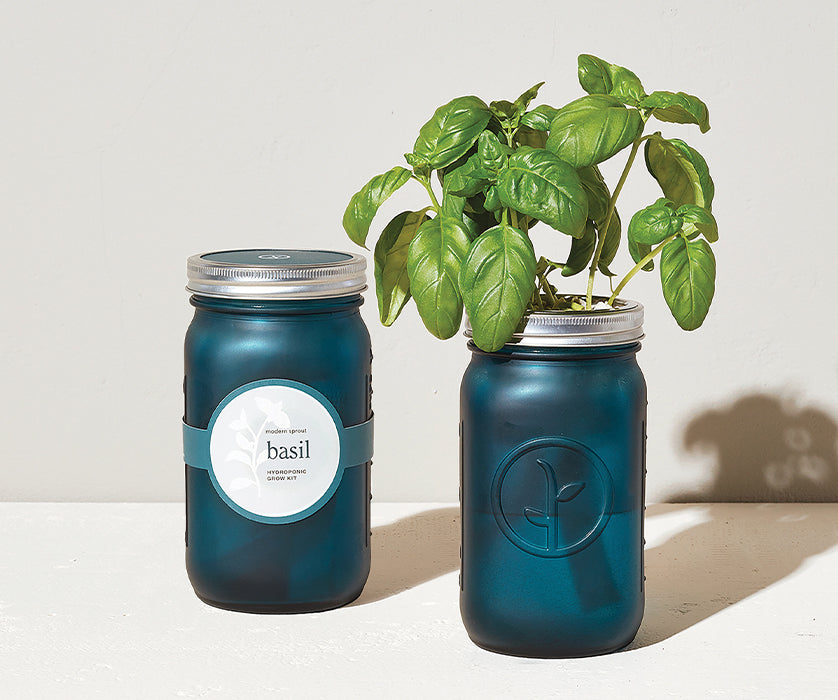
For passive hydroponics like our Tapered Tumblers, Garden Jars, and Terracotta Grow Kits, dumping the water supply and refilling every week is ideal (never let the water supply run dry)! This way, the fresh water supply keeps root systems healthy and oxygenated as opposed to the standing water from the last watering.
Pro Tip: Pouring a portion of your watering straight through the net pot will refresh the grow medium and moisten developing root systems that are too short to reach the wick.
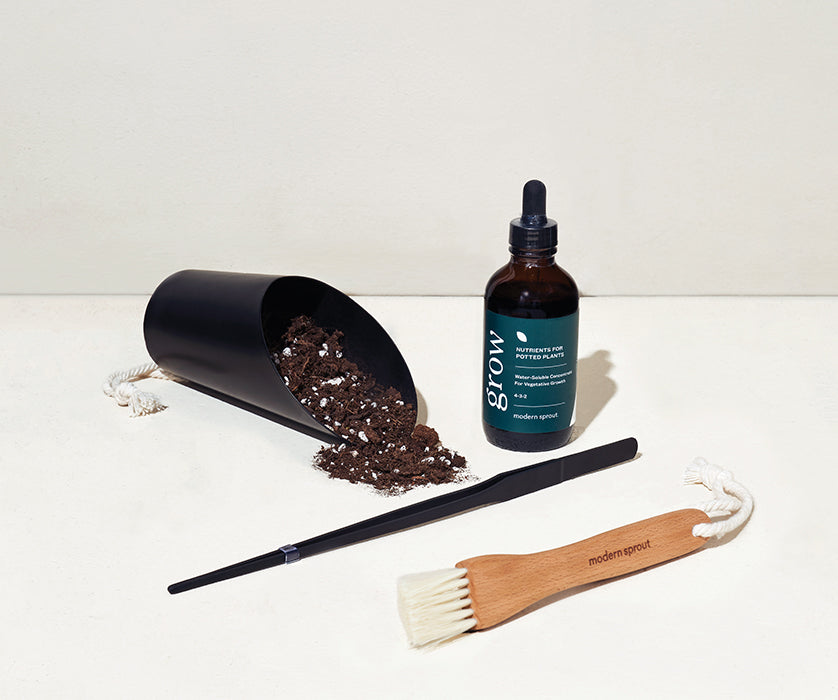
Now let’s talk diet. To set up those passive hydroponic plants for their best success, we recommend alternating their water supply with 1/8 tsp of plant food dissolved into your standard weekly routine dependent on the plant type. To confirm those directions, all of Modern Sprout’s most up to date instructions can be found here. I recommend setting weekly reminders on your smart device until you are used to the feeding schedule!
Friendly Reminder: Don’t accidentally overpower sprouts with nutrients, or you’ll kill them off the way I did with my first Mint planting. Wait until most herbs have a few leaves and or are around the length of your pinky finger to ensure they’re ready.


How long is this going to take?
From one efficiency nut to another, I don’t know.
Depending on all the factors we have covered together, light, heat, watering, humidity, changes in location, most sprouts can be expected to be visible around the three week marker. Notable exceptions include palm, succulent, spruce, and bonsai seeds.
If your seeds fall outside of those listed, review the first few pointers we discussed. You may just find your answer!
Otherwise, the difficulties may be found in your very beginnings when planting. See our post: Home Grown: Starting from Seed written by Ellie Horn.
While I can supply heaps of information and best suggestions, this is your time. You might kill a plant here and there. Gardening is ultimately a chance to practice those skills long lost to high school Biology (although thoroughly more rewarding)! It’s a reflective practice of wills to which I say: Second-guess yourself. Experiment with the time to get moving versus the moment to dig in and let seedlings adjust. It can be scary. You’re going to go forth and experiment. In the immortal words of one of the greats, I hope you “Take chances, make mistakes, and get messy!”
Happy Cultivating,
Sydney