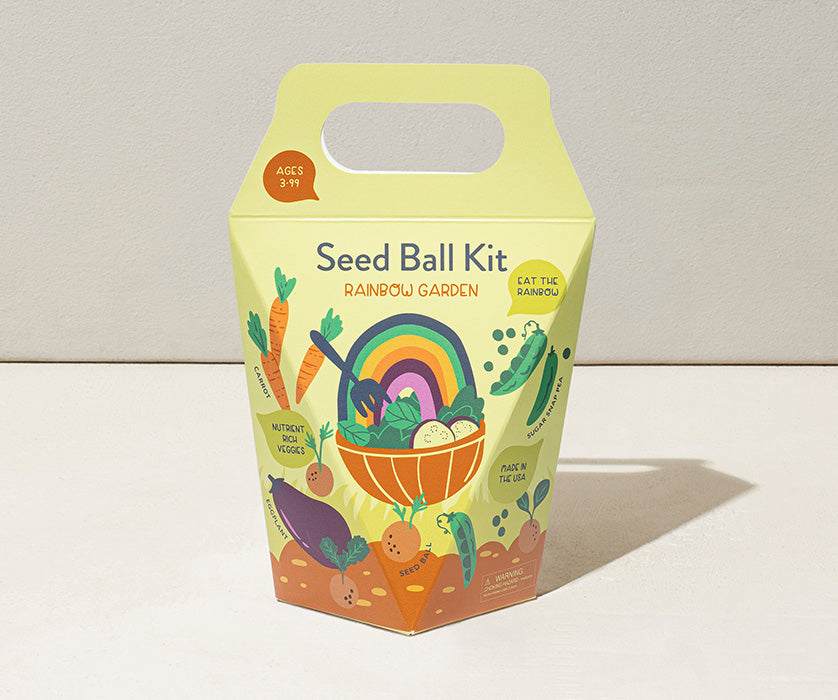
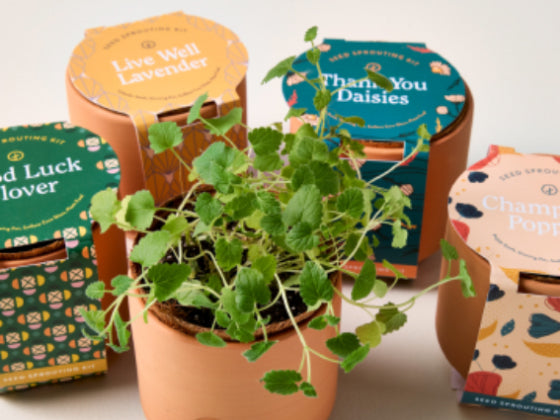

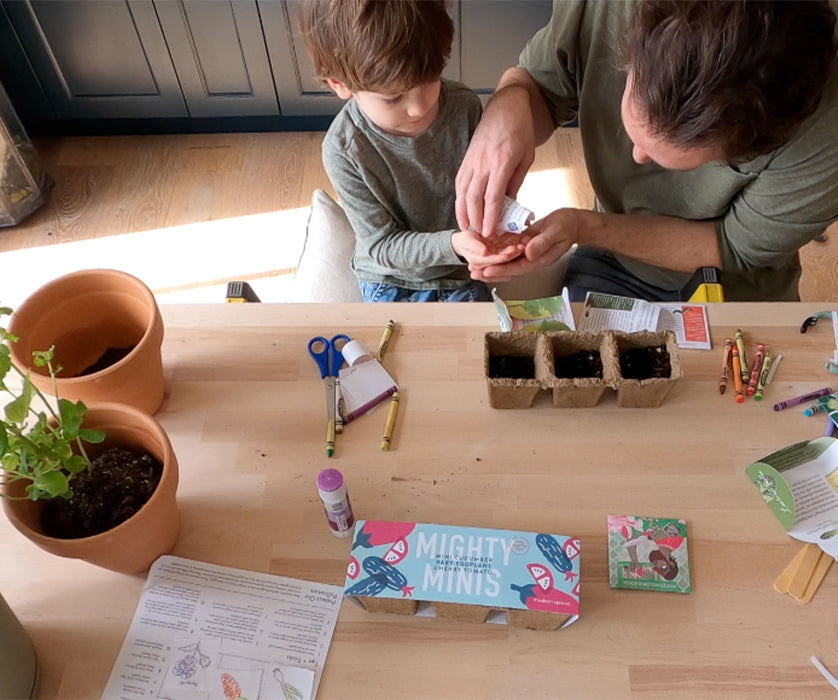
Maybe you’re fresh on the seed starting scene, or you have a history of starting with transplanted veggies. Trying out a munch-able seed starter kit can make even seasoned pros a bit nervous. Let’s dispel some myths and impart some facts about the very personal farm to table experience.
While starting from seed can be tricky, it’s not impossible.
Transplanting young plants from your local garden center into your backyard plot or patio pot may feel more convenient, but there are a few factors out of your control that might throw a wrench in your farm-to-table plans. This is actually one of our favorite reasons to start from seed.
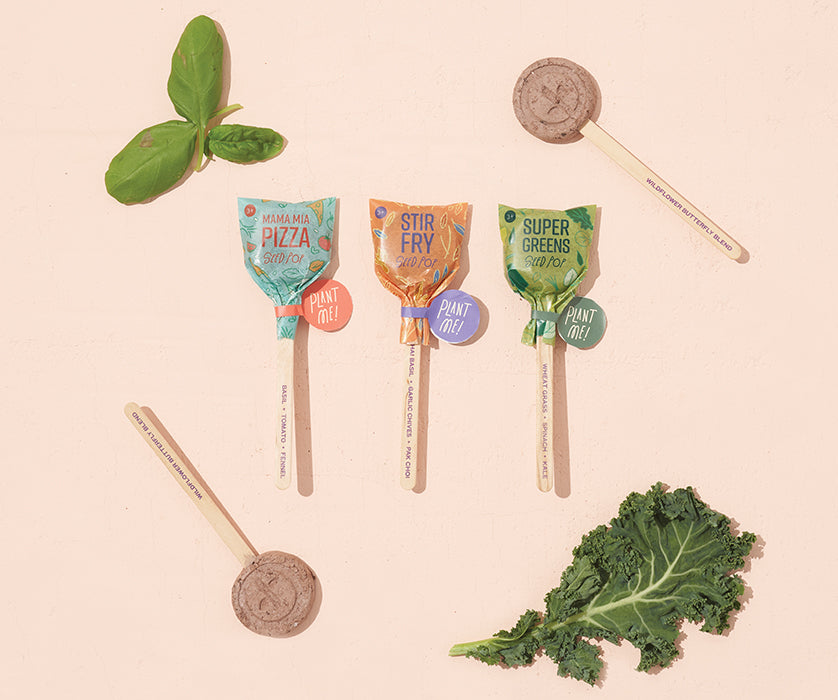
Three reasons why you should start from seed:
- If your seeds thrive in your home, they’re likely to do just fine under the same care in your garden (Something not all started-starter plants from the garden center can guarantee)!
- Full knowledge of the life of your food from seed to table down to the nitty gritty (like soil quality)!
- It’s a labor of love. <3
Starting from seed is a wildly rewarding activity. With key benefits like knowing how your plant was grown, what nutrients were added to the soil, and seeing the gardening experience come full circle from seed to your countertop! Moreover, your budding garden won’t be shocked by the amount of sunlight or warmth it can expect once brought into your home climate. Seeds sewn by your own hand do not have to undergo such stressors.
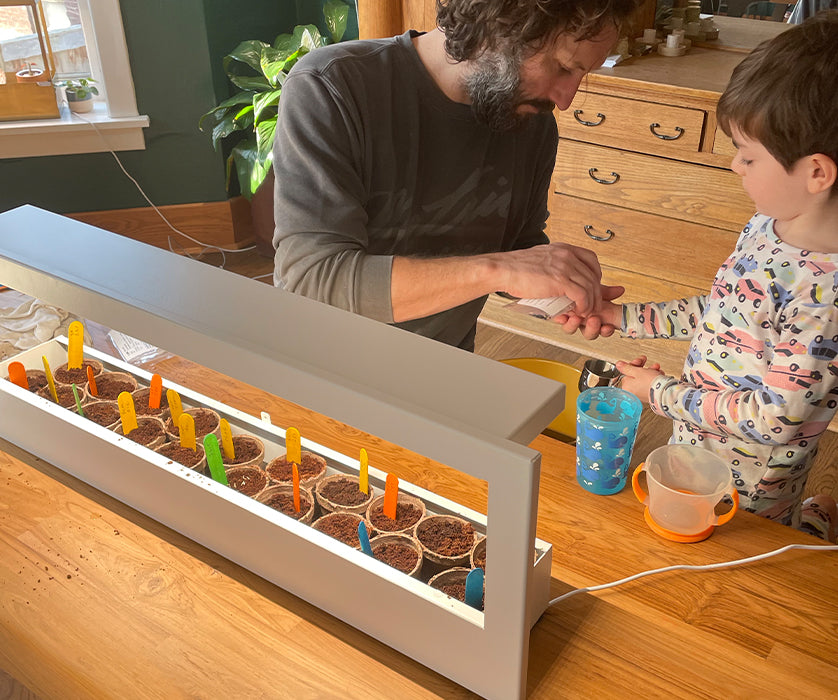

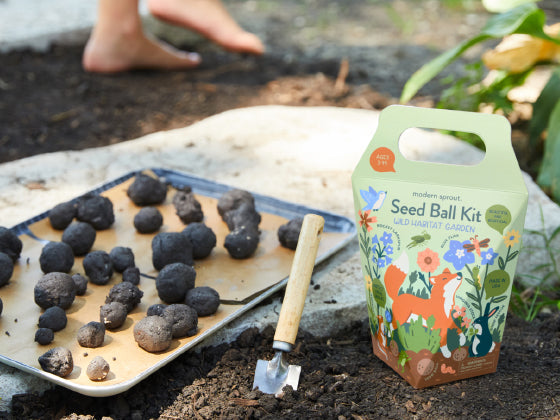
Starting from seed: The early stages
When prepping your kit, well saturated coco disks are key. When unpacking your Seed Starter Trio, moistened soil will ensure your seeds won’t need extra water before they break through the soil surface. Adding water too early can sink seeds to the base of the CowPot cup, away from heat and much needed sun.
Set cups in a space that receives full sun and has an average temperature around or above 70 degrees. Full sun is classified by direct, unshaded sunlight reaching the planting surface for 6 hours or more daily. Plants are extra sensitive to light and heat in their seedling phase.
Make sure your seed starter’s temporary home doesn’t drop below 55 degrees at night, else their biology will tell them not to grow as growing conditions are too cold! Consider supplementing natural sun with a Grow Light at the appropriate distance.
After a week, you see nothing. Let’s jumpstart those seeds into growth!
Mist the coco pith surface heavily and tent plastic wrap or reuse plastic grocery bags secured by a rubber band around the mouth of the cups. This keeps for a warm, moist environment when seed starts are provided full sun. Keep an eye on the surface over the following week. If fuzzy white webbing begins to appear before the seedlings pop, remove the cover for a few hours and replace ensuring they receive ventilation and direct sunlight. Your seeds should break through to the surface within the week!
Experiencing trouble? Contact our growing experts by emailing service@modsprout.com.
Once Seeds Sprout:
Place the self-contained seed starter cups in a dish if not yet already. Water the cups with 1/3 Cup of water each, or until the seed pots are completely moistened and dripping allowing the dish to catch excess water. Let the exterior of the cups dry completely and re-harden before watering again.
When are Sprouts ready to go to their forever home?
When Sprouts have 2-3 sets of leaves and temperatures outside remain above 55 degrees Fahrenheit, you may add Plant Nutrients in their final in-pot feeding before beginning to harden off your plants to the outdoors.
How do I harden off my new plants?
Patience is key. Place plants outside for 2 hours a day in the shade, easing up to 8 hours over 1-2 weeks minding the temperature. Later moving the plants to their new home in your green space, balcony planter, or raised beds. We want to avoid shocking plants to temperatures, sun exposure, and wind.
How far apart should my plants be planted?
Plant different seed types at least 2 feet apart from their center grouping.
If gardening in rows, plant about 2.5 feet to 3 feet between rows.
For the recommended planting distance between the same seed type, see our graph below.
| How far apart should I plant the same seed type in my green space? | ||
| Seed Type | Distance | Earliest + Latest Time to Transplant |
| Spinach | 8 inches to 1 foot between plants | Early spring (Cold Crop), Late Summer (Cold Crop) |
| Kale | 1.5- 2 feet apart | Early spring (Cold Crop), Late Summer (Cold Crop) |
| Swiss Chard | 2– 3 feet apart | Early spring (Cold Crop), Late Summer (Cold Crop) |
| Mini Cucumber | 2-3 sprouts every 8 inches to 1 foot apart | Early Spring Consider planting pollinator-friendly pals nearby! |
| Baby Eggplant | 16-18 inches apart | Early to Mid-Spring |
| Cherry Tomato | 8-12 inches apart | Early to Mid-Spring Consider staking! |
| Watermelon | 2 plants every 3-5 feet apart with space for vining | Early Spring, Late Fall |
| Strawberry | 1-1.5 feet apart | Early Spring, Late Fall
Consider planting pollinator-friendly pals nearby! |
| Mint | 1.5-2 feet apart | Early Spring, Late Fall
Well after the final frost |
Share your success with us on our social channels! Find us at @modsprout.